Dado à is a timeless interior design technique that adds depth, protection, and elegance to lower wall sections through paneling in wood, plaster, or tile. Rooted in centuries of architectural tradition, it transforms everyday spaces into sophisticated environments, blending functionality with aesthetic appeal for homeowners, designers, and DIY enthusiasts.
What is Dado À and Its Meaning?
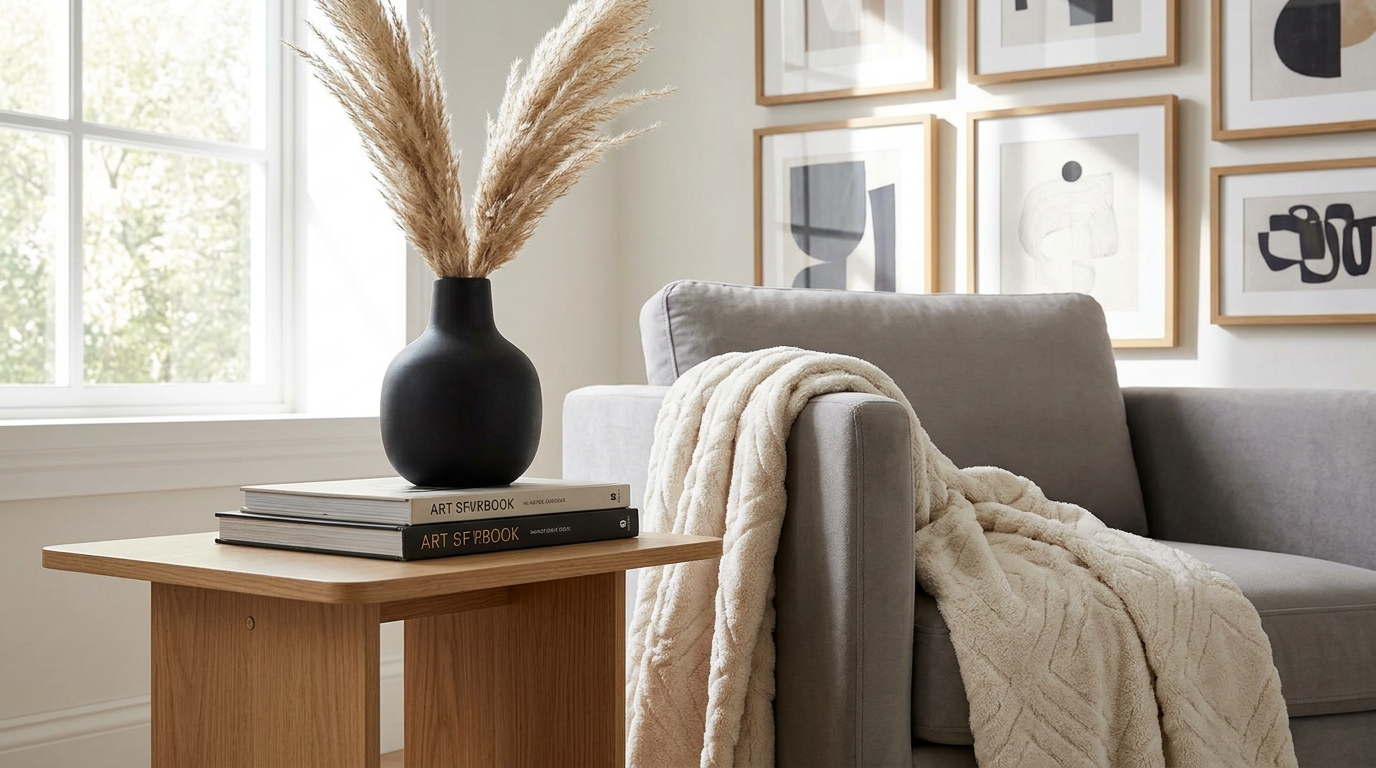
Dado à refers to the decorative lower portion of a wall, typically spanning 90-120 cm from the floor, designed to shield against impacts, moisture, and wear while enhancing visual layering. In practical terms, dado à creates a harmonious division with upper walls, chair rails, and baseboards, evoking wainscoting’s refined charm. Given modern circumstances like high-traffic homes or urban renovations, dado à offers versatile relevance, bridging classic heritage with contemporary minimalism.
Originating from European architectural practices, it evolved from ancient protective panels to a staple in luxurious interiors, symbolizing craftsmanship accessible today.
Brief History of Dado À
Dado à traces its roots to ancient Egypt and Greece, where low wall panels provided both ornamentation and durability in monumental structures. During the Renaissance, Italian artisans elevated it with intricate carvings, integrating it into palazzos and villas for added character. By the 18th century, it flourished across Georgian and Victorian Europe, synonymous with elegance in furniture and grand architecture through textured contrasts.
In the 20th century, dado à adapted to modernism via molded plaster and affordable materials, maintaining enduring appeal in hotels, homes, and public spaces worldwide.
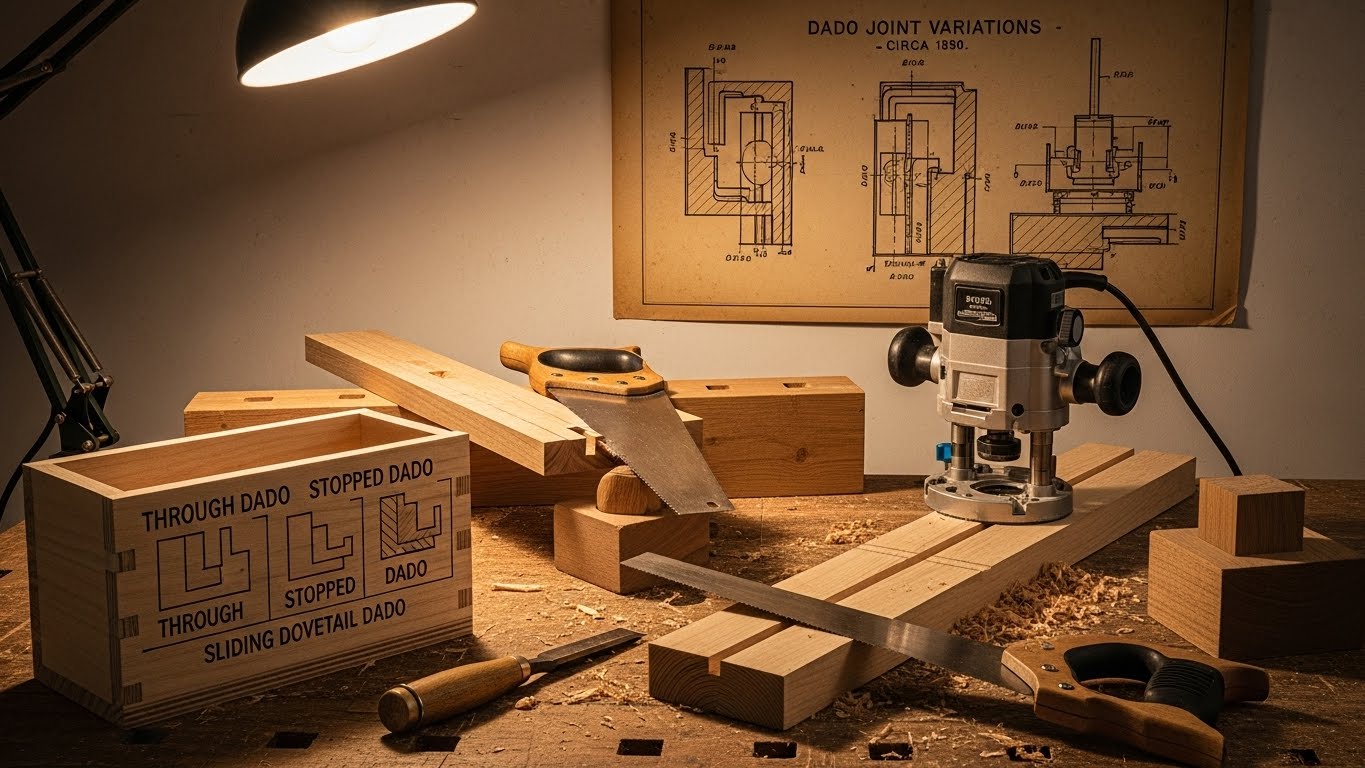
Techniques for Creating Dado À
Crafting dado à demands precision artistry, starting with material selection like MDF panels, plaster, or ceramic tiles.
-
Measure ideal height (around 1 meter) and mark level lines using a spirit level for accuracy.
-
Prepare the base: secure moldings or apply layered plaster for dimensional depth.
-
Install panels with construction adhesive or screws, incorporating stencils for custom patterns.
-
Finish with paint, stain, or sealant for a seamless, professional polish.
Essential tools include tape measures, jigsaws, trowels, and routers, ensuring clean edges and stability.
Benefits of Dado À
This technique delivers lasting practical and visual advantages.
-
Shields lower walls from dirt, furniture scuffs, and humidity in busy areas like hallways or dining rooms.
-
Adds perceptual depth, making small rooms feel larger and more dynamic.
-
Adapts to any style: ornate wood for traditional spaces or sleek neutrals for modern ones.
-
Boosts property value, with renovations recouping up to 70% in resale appeal.
Spaces gain narrative richness, connecting historical artistry to everyday functionality.
Drawbacks and Cons of Dado À
While versatile, dado à has limitations suited not to every project.
-
Installation requires skill; measurement errors lead to costly realignments.
-
Organic materials like wood risk moisture damage in humid climates without proper sealing.
-
Higher upfront costs compared to simple paint, especially for large surfaces.
-
Periodic upkeep needed to prevent plaster cracks or fading finishes.
Ultra-modern or tiny spaces may favor simpler alternatives to avoid visual heaviness.
Who Should and Should Not Use Dado À?
Dado à suits those embracing architectural layering for enduring style.
| Ideal For | Primary Reason | Example Spaces |
|---|---|---|
| Classic or colonial homes | Heritage harmony | Dining rooms, libraries |
| Families with kids/pets | Durable protection | Hallways, family rooms |
| Residential designers | Aesthetic elevation | Boutique hotels, cafes |
| Experienced DIYers | Custom creativity | Entryways, studies |
| Not Ideal For | Primary Reason | Alternatives |
|---|---|---|
| Reform beginners | Technical complexity | Textured paint |
| High-humidity areas | Mold risk | Vinyl tiles |
| Tight budgets | Elevated per m² cost | Peel-and-stick panels |
| Ultra-modern lofts | Style clash | Full-wall smooth panels |
Assess your space’s layout and lifestyle first.
Dado À Pricing Table
Costs vary by material, size, and labor; estimates per square meter installed.
| Material | Price per m² (Installed) | 10 m² Package | 20 m² Package | Typical Inclusions |
|---|---|---|---|---|
| Painted MDF | $25-45 | $220-380 | $400-720 | Cutting + basic paint |
| Molded Plaster | $35-60 | $300-500 | $560-1,000 | Custom molding + finish |
| Natural Wood | $50-85 | $420-700 | $800-1,400 | Stain + simple carving |
| Ceramic Tile | $30-50 | $260-440 | $480-900 | Grout + sealant |
Add 20% for custom designs; bulk packages save 10-15%. Local rates in Lahore may adjust for import materials.
Post-Installation Care Tips
Proper maintenance ensures decades of beauty.
-
Weekly dusting with a damp microfiber cloth and mild soap; skip abrasives.
-
Annual anti-moisture sealant on wood or plaster.
-
Check joints for cracks and patch with filler promptly.
-
Refresh paint every 5 years to sustain vibrancy.
These habits prevent 80% of common issues, extending lifespan significantly.
Dado À vs. Alternatives: Quick Comparison
| Technique | Avg Cost/m² | DIY-Friendly? | Durability |
|---|---|---|---|
| Dado À | $45 | Moderate | 20+ years |
| Textured Wallpaper | $18 | Easy | 5-10 years |
| 3D Paint Effect | $14 | Simple | 3-5 years |
| PVC Panels | $35 | Easy | 15 years |
Dado à excels in authenticity and long-term protection.
FAQs About Dado À
What does dado à mean?
It denotes the ornate lower wall panel, merging protection and design at standard 1-meter heights.
Is dado à expensive?
Material-dependent; packages make it budget-friendly with strong aesthetic ROI.
How to install dado à at home?
Measure precisely, secure base, apply panels—video tutorials aid intermediates.
Given the circumstances, does it suit small apartments?
Yes, in light tones and proportional heights to enhance spaciousness.
Best materials for humid dado à?
Ceramic or treated PVC; sealed wood as backup.